Basically, trying to directly edit the waveforms on this level is a flawed approach, and will never give you clean results. By visual standards, the dynamic range of the human ear is enormous, so you will have to zoom in by orders of magnitude to even see the finest audible details. To further complicate matters, it’s very difficult to see audible frequency/period relations in a time domain visualization, so it’s a very blunt tool from that perspective as well.
Now, what you can do is use the waveforms as visual cues for navigation, along with your ears, while using slightly higher level editing tools. For example, rather than editing the waveform directly to remove clicks and pops, to adjust attacks of percussive sounds etc, you use fades, crossfades and similar tools, to “bend” the waveform without erasing the fine details you can’t even see. For more complicated edits, you might want to work with multiple tracks/layers, so you can apply filters and other tools selectively. For even more possibilities, work in the frequency domain instead, using iZotope RX or similar.
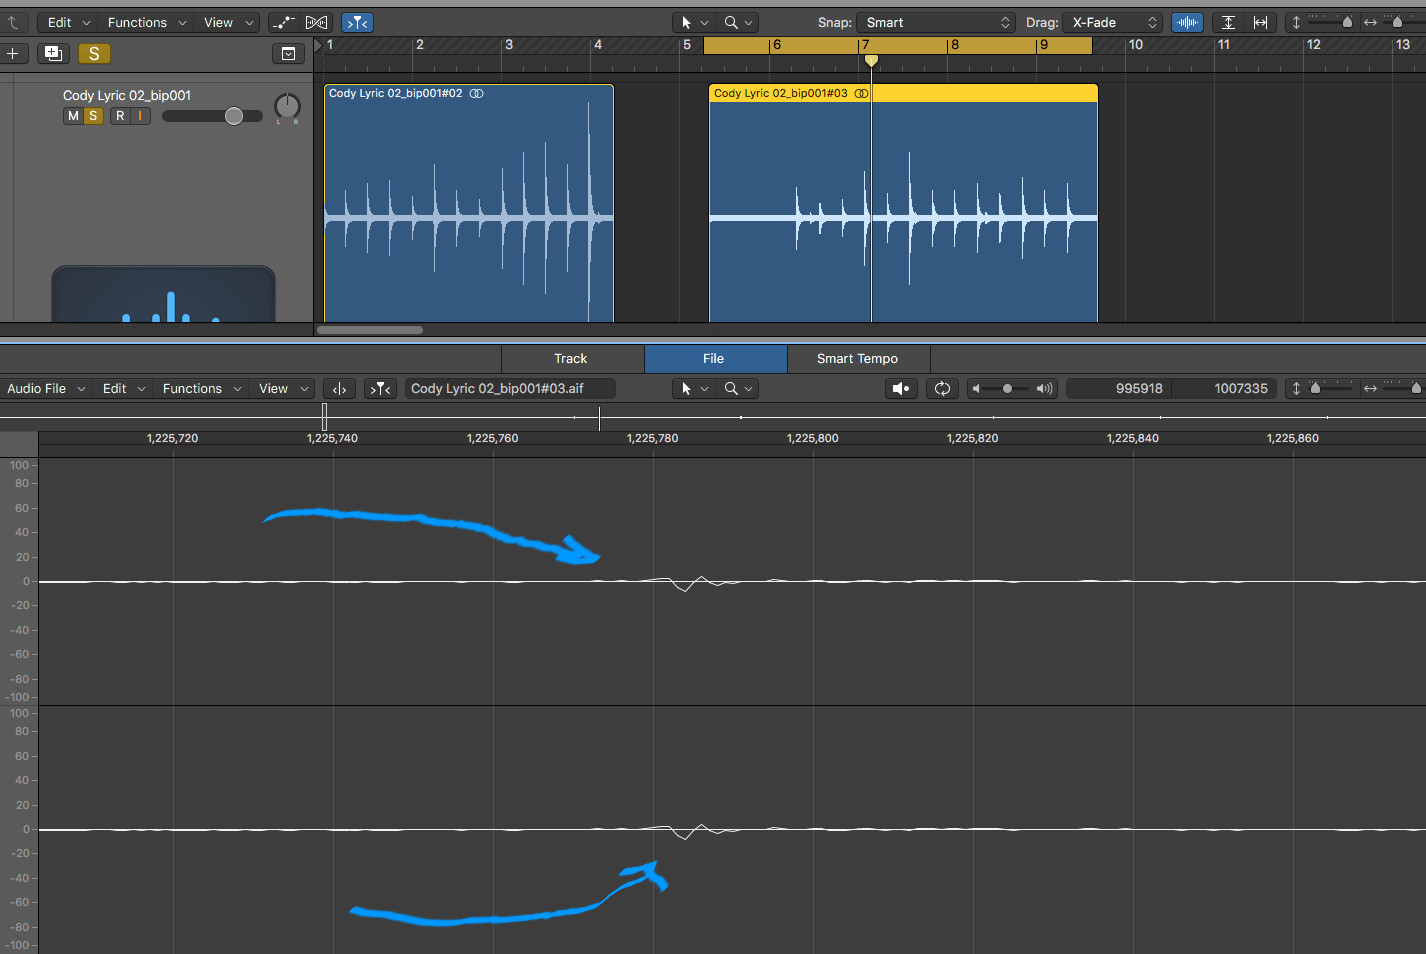
As for looping, that’s a problem that’s a lot more complicated than it may seem at first. The first and trivial step is to make sure the loop point doesn’t cause a DC offset skip (“click”), and the standard (but not only) approach there is to make sure loop points are located at zero crossings. However, you can still get pops and thumps, as a result of drastic changes in phase and frequency content at the loop point.
There is a “quick-and-dirty” trick that can work in some cases: Cross-fade around the loop point. However, that often results in a phasing, flanging, or chorus effect. To avoid that, especially with solo instruments and the like, where it becomes very obvious, you’ll need to either search for the best possible loop point, or “force” things by phase-locking the sections around the loop points by essentially applying “full autotune” in those areas.
Sometimes, the phase/flange/chores effect is desirable, and then you can get away with just making the cross-fade the full length of the loop. Just keep in mind that if there are pre/post loop parts of the sample as well, you’ll need to “double” those as well, so the effect doesn’t apply only to the loop part.
A variation on the crossfade loop method is reverse crossfade; that is, crossfade the loop section into a reversed version of itself, and the back to the original version, offset by half the loop length, so that the actual loop point is never audible. This only works on certain types of sounds, as some sounds just sound weird if reversed. (Consider low woodwinds, for example; where each “clap” of the reed triggers a number of high frequency resonances. If you reverse it, you’ll literally hear the “reverse effect” on every cycle of the root note.)


 which I will